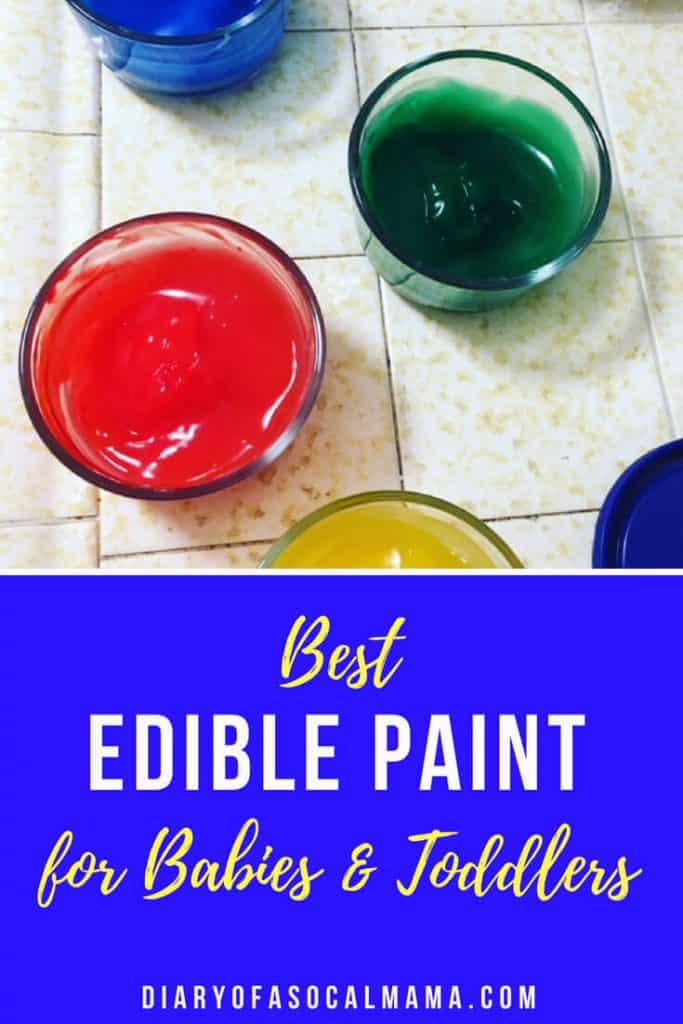
Edible Paint Recipes
Looking to do some crafting or just to entertain your baby or toddler?! Painting, especially finger painting can be a lot of fun, but like me, you may be worried about your child eating the paint! Edible paint is just what you need, all the fun but fully ingestible.
Today I compared two different recipes for edible finger paint for babies & toddlers to see which works best. The recipes are simple and are made from things you probably already have in your cupboard. Check out my results below! I hope you have some fun, edible, playtime with your little one!
If you have younger babies they may also enjoy these fun DIY dollar store sensory bags!
Homemade finger paint with flour
To make a flour-based edible paint you’ll need:
- 1 cup flour
- 1 teaspoon salt
- 2 cups water
- food coloring (they also make natural dyes)
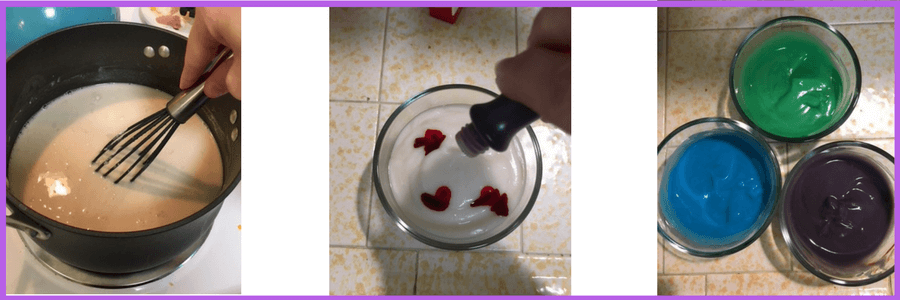
Put the water and salt on the stove to heat. Slowly whisk in flour. Whisk on medium heat until the mixture starts to thicken.
Partition the mixture into several containers and color with a few drops of food coloring. Let cool and you’re ready to have fun! The mixture will be fairly liquidy. Cover to keep it from drying out when not in use.
Cornstarch finger paint
To make cornstarch based edible paint you’ll need:
- 2 cups water
- 1/2 teaspoon salt
- 3 tablespoons sugar
- 1/2 cup cornstarch
Put the water and salt on the stove to heat. Slowly whisk in the cornstarch and sugar. Whisk on medium heat until the mixture starts to thicken.
This one will thicken suddenly so you’ll want to watch it. Partition the mixture into several containers and color with a few drops of food coloring. Let cool and you’re ready to have fun! This one will have a gel-like consistency one cool.

Check out my full list of non-toxic products for kids!
So which was the winner of the edible paint challenge?!
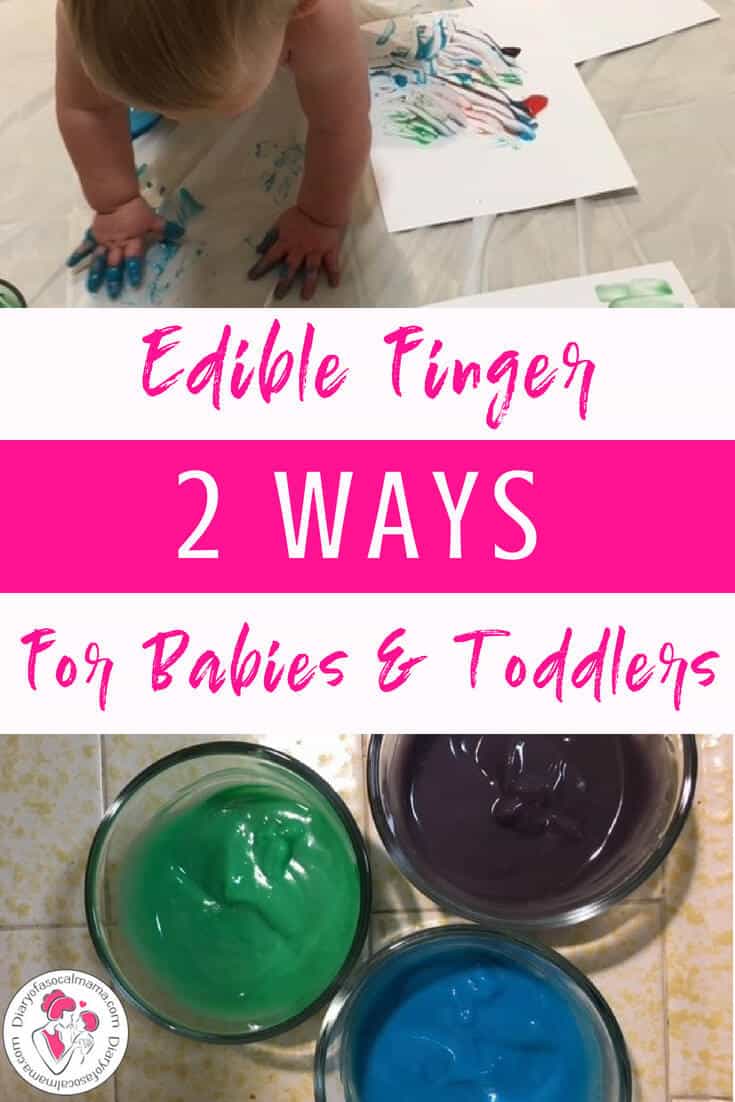
Best edible paint for babies:
Flour based. The flour based paints are much thinner. This makes them ideal for fingerpainting for young kids whether you are doing it sensory bag style or setting them loose on paper and letting them get their hands dirty. It spreads very easily so a little does go a long way.
Best paint for toddlers and older kids:
Either one really, but I would give them the cornstarch paint if they are using their fingers. Once they understand what to do with the paint and can push their fingers in a bit this is the one to use. It drips less, spreads more evenly, and dries faster.
Bonus: It has a gel like consistency so it’s not going to spill easily if they knock over the container.
Best for crafts:
If you are looking to make handprint cards or other craft type items you will need to use the cornstarch one.
You can apply it to the child’s hands or feet without it spilling everywhere and it smears less when it goes on the paper. It does come out very light.
If you’re only going to use paint for a quick handprint or footprint you may want to grab some regular washable finger paint so you get more vibrant colors.
Pro Tip: When cleaning up the paints be sure to scrape any excess into the trash before washing the containers out in your sink. These paints have a flour or cornstarch base which are thickening agents and could clog up your sink!
Cleanup: I found that the paints cleaned up easily off my kitchen floor and the handprints off the cabinets.
You can also buy a cheap tablecloth at the dollar store to put down before you let them paint, let them paint right in the bathtub, or set them up outside in the summer and then just wash the paint away!
My daughter did have some blue fingers after some extra long paint playtime but it came off after a few washes.
I hope your budding Picassos enjoy their painting playtime! Check out all my fun activities for babies and toddlers!
Make sure to pin this recipe for later. And follow me on Pinterest for more fun crafts and mom know how.

Edible Finger Paint
The best edible paint for babies and toddlers.
Materials
Cornstarch Paint
- 2 cups water
- 1/2 tsp salt
- 3 tbsp sugar
- 1/2 cup cornstarch
- food coloring
Flour Paint
- 1 cup flour
- 1 tsp salt
- 2 cups water
- food coloring
Tools
- Whisk
Instructions
- Put water and salt in a pan to heat.
- Slowly whisk in the flour or cornstarch and sugar
- Cook over medium heat while whisking until it begins to firm up.
- The cornstarch version firms up very quickly so be prepared.
- Partition into several containers and add a different color to each.
- Allow to cool before use.
Edible paint for babies

How do I store the cornstarch paints once I’ve mixed them?
How long can I keep them?
I stored mine in our glass storage containers. There isn’t really a preservative so I wouldn’t keep them more than a week. Check for mold before breaking them out again.
I’ve never used editable finger paints before, but know my girls would love them! I’ll definitely try the flour based one for them!
I’m totally going to make these! I love that I don’t have to worry when they inevitably put their fingers in their mouth!
This is such a great idea. Whether my daughter means to or not, she at least ends up tasting everything and gets it everywhere.
Will definitely be trying the flour-based recipe this weekend. My daughter loves arts and crafts and we go through store bought paint very fast. Great way to save money as well.
I will have to do this with my little one soon! She loves coloring and sticking everything in her mouth so this is perfect!